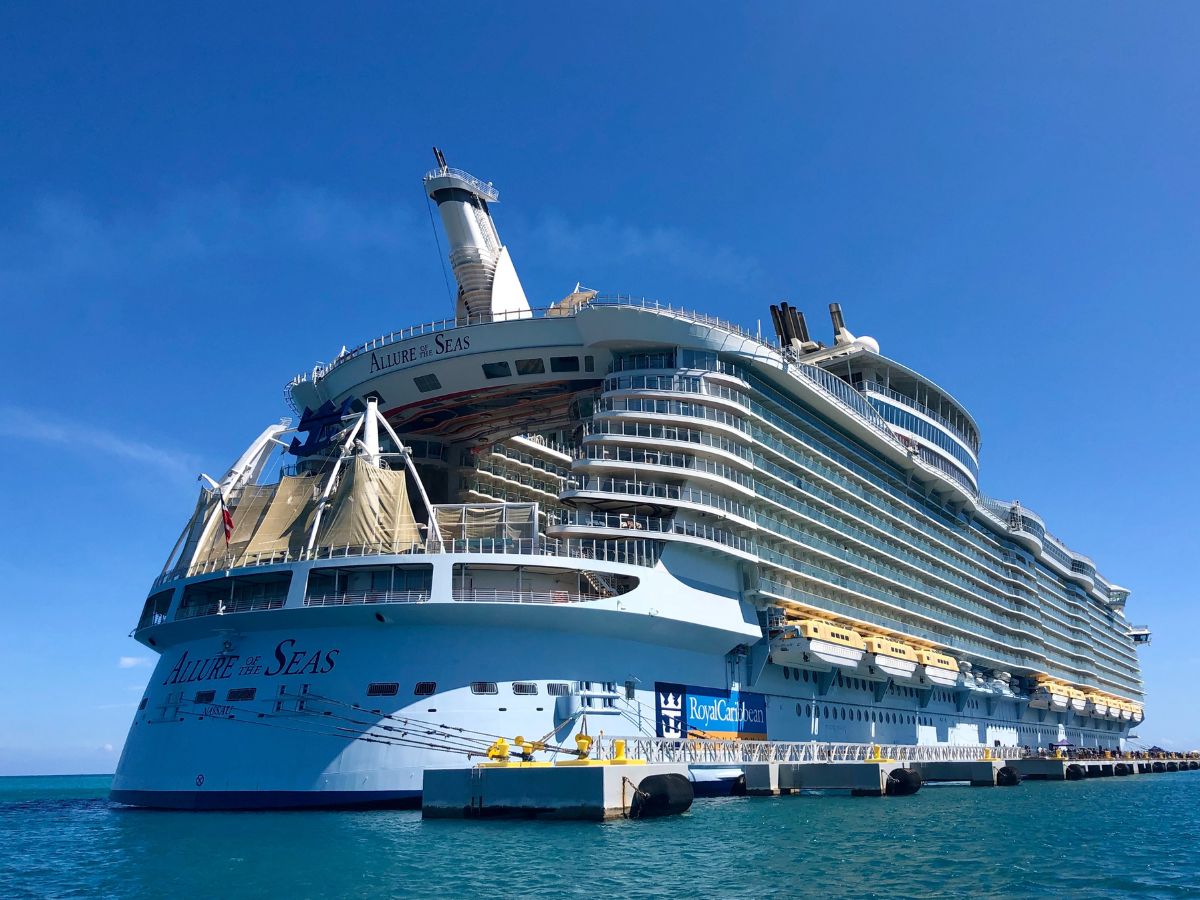
Are you a gambler and casino lover? And are you planning for a cruise ship tour? Then this article will provide you with the best information about the rules, regulations and FAQs regarding Cruise Casino. There is Asia’s largest gaming and entertainment on a cruise ship called Deltin Royal. It gives the best and most royal experience in the field of casinos and other entertainment sections. Deltin offers 1000 gaming positions and covers over 50k sq. ft area. This is a must-visit cruise if you travelling to Goa.
There are many such cruises in the world which are into the casino operation inside the cruise ship while travelling or porting. People who are interred in gambling must need the casino section in the cruise.
For those who are sea-sick, online casinos might juste be the perfect fit. You can check casinosjungle.com. They review the best online casinos in United States
Which ships or big cruises have a casino section?
Some of the best Cruises have a Casino section. Although it is dependent on the Line you choose. Large and small Ships like Crystal’s 848-passenger Crystal Symphony and 980-passenger Crystal Serenity have an onboard casino. The popular Norwegian Cruise Line’s Pride does not have a casino. Also, many expedition ships and riverboats do not have casinos.
Penny slots and high stacks tables in a Cruise Ship Casino
There are penny slots available in cruise ship casinos. Every other ship cruise offer variety of ways to win it. Thus, you can incur $ 2 in a single round, if you have 1 cent variation which is 1 cent bet. Not many journey ships offer really high stakes betting. On certain boats, like select Royal Caribbean ships, if enough hotshots need to play a high stakes game, the pit supervisor might orchestrate a game. Yet, generally, tables are restricted.
Is there any smoking area in the cruise?
Many passengers are willing to know whether there is an area for smoking on the cruise. Once more, this relies upon the voyage line. The majority of the enormous boats permit smoking in the gambling club; some, similar to Carnival, have without smoke areas (Norwegian Bliss is additionally the main Norwegian boat whose club has a different space for smokers). Ships that don’t allow smoking in that frame of mind at all incorporate Celebrity, Crystal, Cunard, Oceania, Regent Seven Seas, Seabourn, Silversea and Windstar. Figure out more about journey transport smoking strategies.
Do cruise ship casino offers poker, slots and blackjack tournaments?
Most cruise offers tournaments of various kinds, especially Slots and blackjack. Champs of competitions commonly win cash yet on certain boats, specifically Royal Caribbean, victors of Texas Hold’em competition is additionally qualified to get a free voyage for two on which the last Royal Poker Tournament is held, for which an award pool of $100,000 is ensured.
Do Cruise ship casinos open 24/7?
During daylight hours cruise ships passengers are not much into entertainment sections, they are much interested in other work stuff. So, many cruise held casino open until 2 to 3 am. If you are interested for day casino hours you need to first check whether the cruise is open for day hours. Mostly cruise ships opens when it is voyaging through the sea.